Sowing your Sweet Peas
Welcome back to our ‘Spring Sowing Sweet Peas’ series...
In our last blog we discussed preparation and planning. I hope you had a wonderful time choosing which varieties you will grow and buying them. If you haven’t purchased your seeds yet, there’s still plenty of time. Sweet Peas will germinate and grow on quickly this time of year. So let’s move on to the next fun step, sowing your seeds.
Every grower will have their own way of sowing seed and you may find other ways work better for you, but here at Easton in Lincolnshire we have been sowing them this way for many years with great success.
Sweet pea seeds have a very hard coating on them, some people like to soak the seed for 24hrs before sowing to soften this coating, we don’t find you need too. There are also people that suggest scraping the seed coat with a knife or sandpaper to break the coating. Generally we don’t do this, but if we find a variety that’s not showing signs of growing in 2 weeks we will sometimes take it out and nick the coating and resow it, just to start it off. You might like to try one of these methods if you’ve not had success growing before.
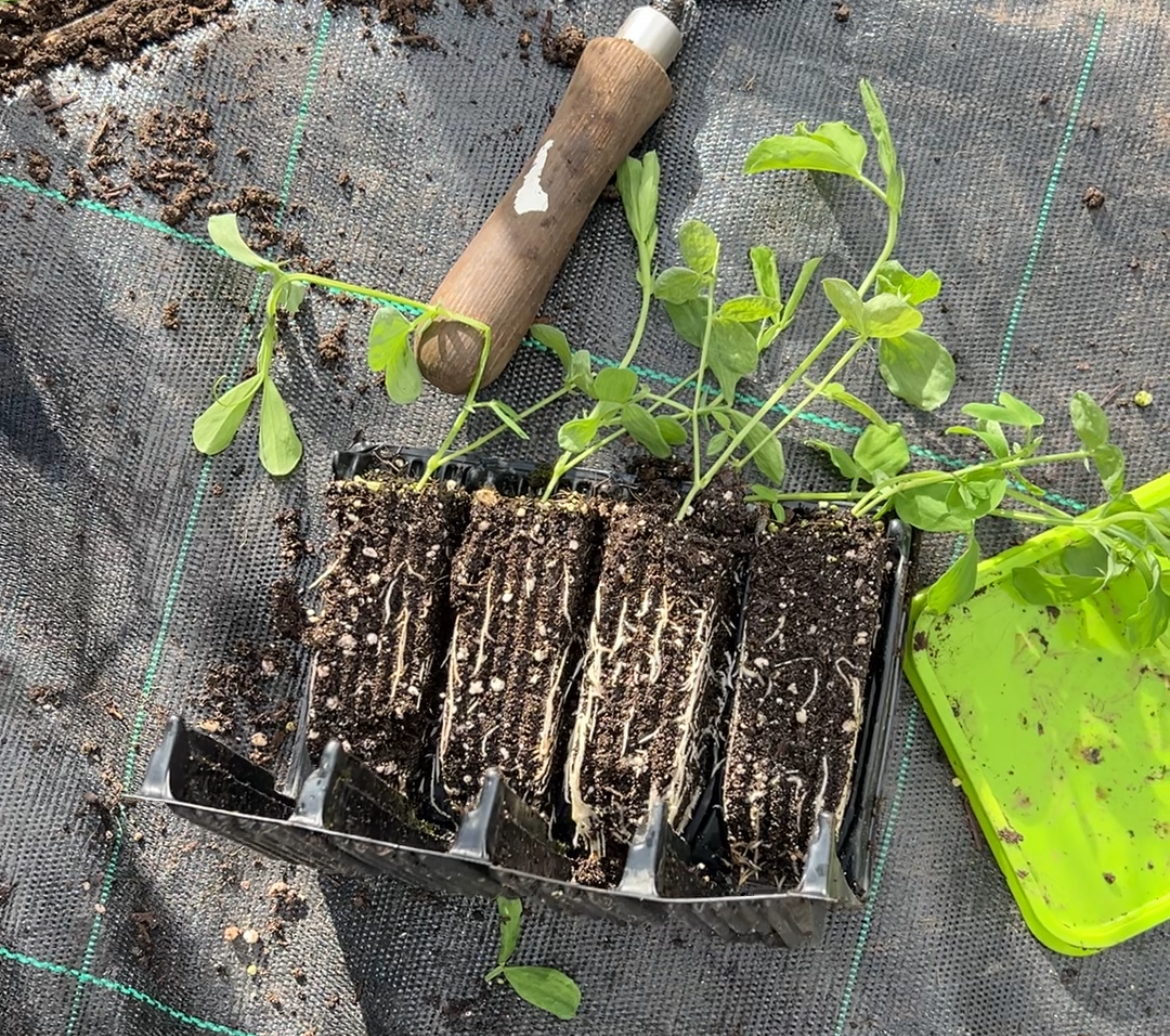
Firstly, mix your compost and vermiculite so it’s evenly distributed, if you have very heavy compost you can use a 50/50 mix, we usually work with around 10 % vermiculite and as we mix we check for lumps in the compost and break these down. This helps when you come to planting because if you have a large heavy lump stuck to a delicate root, it will damage the roots you have worked hard to grow in the root trainers. Next, loosely fill your root trainers or pots, just tap the tray gently to settle the compost, don’t press down hard or compact the compost and aim to have the soil level about 1 cm from the top.
We sow 2-3 seeds per cell (the section of your root trainers), place the seeds in and then cover lightly with compost. If you have filled all the way to the top, don’t worry just make a small indent and pop the seed in there.
We find the seeds don’t like to be any deeper than a cm but they are perfectly fine with less than that. They will even germinate on the top sometimes.
So once you have the seed covered, give them a good water with a fine rose on your watering can, this will settle the compost down and then cover the tray with either the plastic cover that comes with the root trainers, a perspex sheet or something similar. This acts as a mini greenhouse and helps to keep the climate nice and moist so that the seeds can germinate. You wont need to water the seeds again until they are visibly growing and you have taken the cover off, if they start to look dry.
Covering the seed tray also protects the seeds from mice! They love sweet pea seeds and will always find a way to get to your preciously sown ones, so keep them covered at all times during these first few weeks. Once ours start growing and are getting taller, we take the plastic covers off and then use a mesh frame that fits tightly over and this stops the mice nibbling the seeds and killing the plants.
Make sure that you label your seeds clearly if you have different varieties.
And that’s it, now just pop them somewhere warm and check them every day for signs of germination, remember, don’t water them again, just keep the lid on.
Once you see that they are growing nicely, you can move them somewhere cooler as long as it’s nice and bright. Even outside as long as they are still covered in some way from the mice.
Sweet peas are actually very hardy and the cooler you keep them the stronger your plants will be, just don’t leave them out in a frost just yet it will be too much of a shock, coming from a cosy warm place.
So keep checking those seeds and maybe send us some photos of them via social media. We will catch up with you soon to show you what we do next before we get planting.